How to Build a Game Prototype Using AI in Under One Hour
Many people have great game ideas, but never start because they think it takes weeks of coding and drawing. The truth is, you can build a basic playable version in under one hour using smart tools that handle the difficult parts for you. A prototype is a simple test version that lets you see if your idea feels fun before you spend more time on it. You only need a clear idea, a computer, and a tool that turns plain descriptions into working game parts. This guide walks you through the entire process from choosing your idea to testing the first playable build. Follow the steps exactly, and you will have something you can click and play in less than sixty minutes. The method works for beginners and gives fast results that you can improve later.
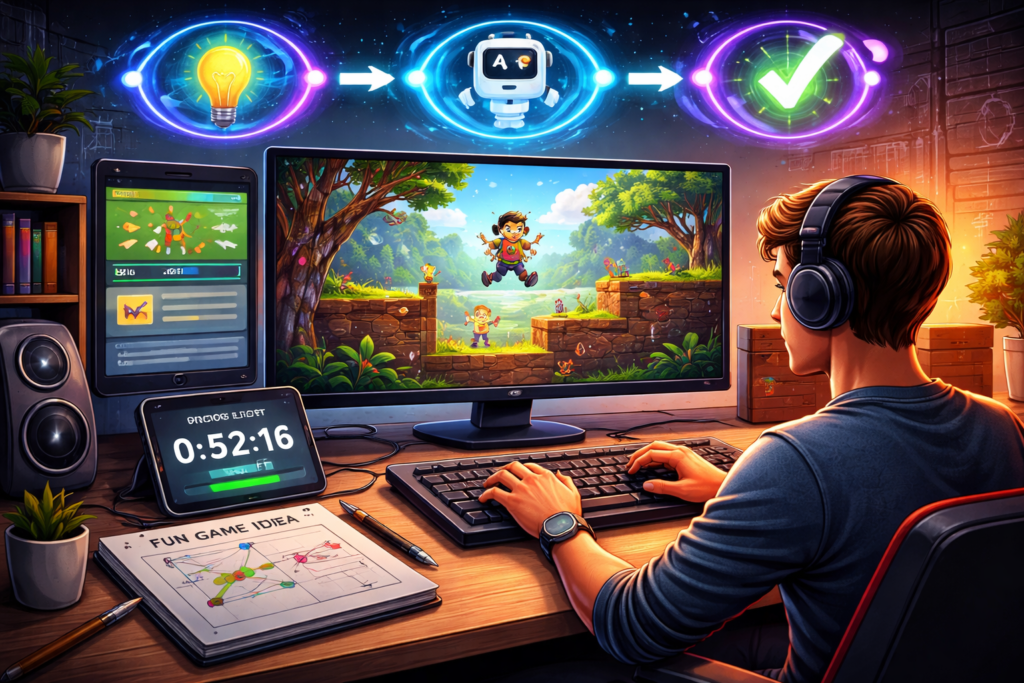
For example, a simple mechanic like stickman anchor swinging or timing-based movement can be prototyped quickly. You can see a lightweight version of this idea in action. Notice how a single core action drives the entire gameplay loop without needing complex systems.
Choosing a Simple Game Idea That Works Fast
Start with a very small and clear idea. The best prototypes focus on one main action that players repeat. Good choices include catching falling objects, guiding a character through a short path, or matching simple shapes. Avoid big stories or many levels in the first hour. Write your idea in one sentence, and you can go through the viral games. For example, a character jumps over moving obstacles to reach the end of the screen. Or players tap to make a ball bounce and hit targets. Keep the goal easy to understand and the controls simple, such as arrow keys or mouse clicks. Think about the feeling you want players to have. Should it be calm and relaxing or quick and exciting? Choose the mood early because it helps when describing the game later. A focused idea leaves enough time to build and test everything inside one hour.
Preparing Your Workspace
Set up a clean space on your computer before you begin. Close extra programs so your machine runs smoothly. Open a blank document and write down your game idea, main action, and controls. This note becomes your guide during the building process. Make sure you have a steady internet connection because the tool will need to create game parts quickly. Choose a comfortable chair and set a timer for sixty minutes. Divide the time roughly like this: ten minutes for planning, twenty minutes for building the core, fifteen minutes for adding details, and fifteen minutes for testing and fixes.
Four Key Steps to Build the Prototype
Follow these four steps to create your game quickly.
- Describe the full game in plain words. Tell the tool the type of game, what the player does, and how the game ends. Include details about controls and the main goal.
- Let the tool create the basic world and rules. The system builds the play area, adds a character, and sets simple rules for movement and scoring.
- Add the main action and winning condition. Connect the controls so the player can interact and tell the game when the player wins or loses.
- Run the first test and make quick changes. Play the prototype and fix the biggest problems with short new descriptions.
These steps keep the work organized and prevent you from getting stuck. Each one builds on the previous, so you see progress right away.
Describing Your Game Clearly
Type a detailed but simple description into the tool. Start with the game type and main action. Say whether it is a side view or a top-down view. Explain what the player controls and what happens when they succeed or fail. Include basic looks such as colors and simple shapes. For a jumping game, describe a character that moves left and right and jumps when you press a key. Mention that obstacles move toward the player, and the game ends when the player touches one. The clearer your first description, the better the first result. If the tool asks questions, answer them directly. You can always add more details on a second try. Keep the description under two hundred words so the tool focuses on the important parts.
Building the Core Gameplay Loop
The core loop is the part players repeat again and again. In your prototype, make this loop work first. For a catching game, the loop is watching items fall and clicking to catch them. A runner game, it involves moving side to side while avoiding obstacles. Ask the tool to create the player character and the basic movement. Then add the objects the player interacts with. Set a simple score that increases with each successful action.
Test the loop as soon as it appears. Can you move the character easily? Do the objects behave as expected? If something feels wrong, describe the change you want in plain words and let the tool update it. Many small improvements happen in seconds.
Adding Simple Visuals and Controls
Once the core works, improve how the game looks and feels. Choose bright colors that match the mood. Add a simple background that moves slowly to give a sense of speed. Place a score number in the corner, so players see their progress. Set easy controls that feel natural. Arrow keys or WASD for movement and spacebar for jumping usually work well. If the game is for phones, make sure tapping works smoothly. The tool can change visuals based on short requests. Ask it to make the character bigger, change obstacle colors, or add a simple animation when the player jumps. Small changes like these make the prototype much more enjoyable to test.
Setting Win and Lose Conditions
Every good prototype needs clear ways to win or lose. For a short test game, winning can mean reaching a score of fifty or surviving for one minute. Losing happens when the player touches an obstacle or runs out of time. Make the end screen simple. Show the final score and a button to play again. This lets you test the full experience from start to finish. In AI generated games, the tool can create these conditions automatically once you describe them. Test both winning and losing several times to make sure they trigger correctly.
Four Important Areas to Check Quickly
Spend the last part of your hour checking these four areas.
- Movement and Controls: Make sure the player character responds immediately and feels good to control. Fix any delay or awkward movement.
- Difficulty Balance: The prototype should feel challenging but not impossible in the first minute. Adjust speeds or sizes if needed.
- Clarity: Players should understand the goal without reading long instructions. Add a short text message at the start if necessary.
- Stability: Play the game three times in a row and check that it does not freeze or behave strangely.
Testing Your Prototype
Play the full game from the beginning several times. How long does each attempt last? Note which parts feel fun and which parts feel confusing or broken. Try playing with different styles. Play carefully once and then play aggressively once. This shows whether the game stays fair in different situations. If you have time left, ask one friend to try it for two minutes and tell you their first thoughts. Fresh eyes often spot simple problems you missed. Write down every comment so you can improve the next version.
What to Do After the First Hour
Once the hour ends, save your prototype and take a short break. Review your notes and decide what worked well. The first version does not need to be perfect. Its job is to prove the core idea can be fun. You can now decide whether to spend more time polishing this idea or try a different concept. Many successful games started as simple prototypes made in under one hour. Use what you learned to make the next version better and faster. If the core felt good, you can expand it by adding new levels or better visuals later. If something felt wrong, change the main action and build a new prototype in another short session.
Common Mistakes to Avoid
Do not try to add too many features in the first hour. Extra characters, complex stories, or many power-ups slow you down and often break the prototype. Avoid spending too much time on perfect visuals. Simple shapes and colors are enough to test the fun part. Do not ignore small problems during testing. Fix the biggest issues, even if it means going slightly over time. A smoother prototype gives better feedback.
Wrapping Up the Process
Building a game prototype using AI in under one hour is realistic when you keep the idea small and follow clear steps. Choose a simple concept, describe it well, build the core loop, add basic visuals and controls, and test everything quickly. An online games lets you test many ideas fast without wasting weeks on something that might not work. The speed helps you learn what makes games fun through real play instead of guessing. Start with one small idea today. Set your timer and follow the steps. In less than sixty minutes, you will have a playable prototype in your hands. Each prototype teaches you something new and brings you closer to the game you really want to make. The best part is how quickly you can go from thought to action. No more waiting months to see if an idea has potential. With this approach, you stay excited and keep moving forward. Open your tool now and turn your next game idea into reality in under one hour.